


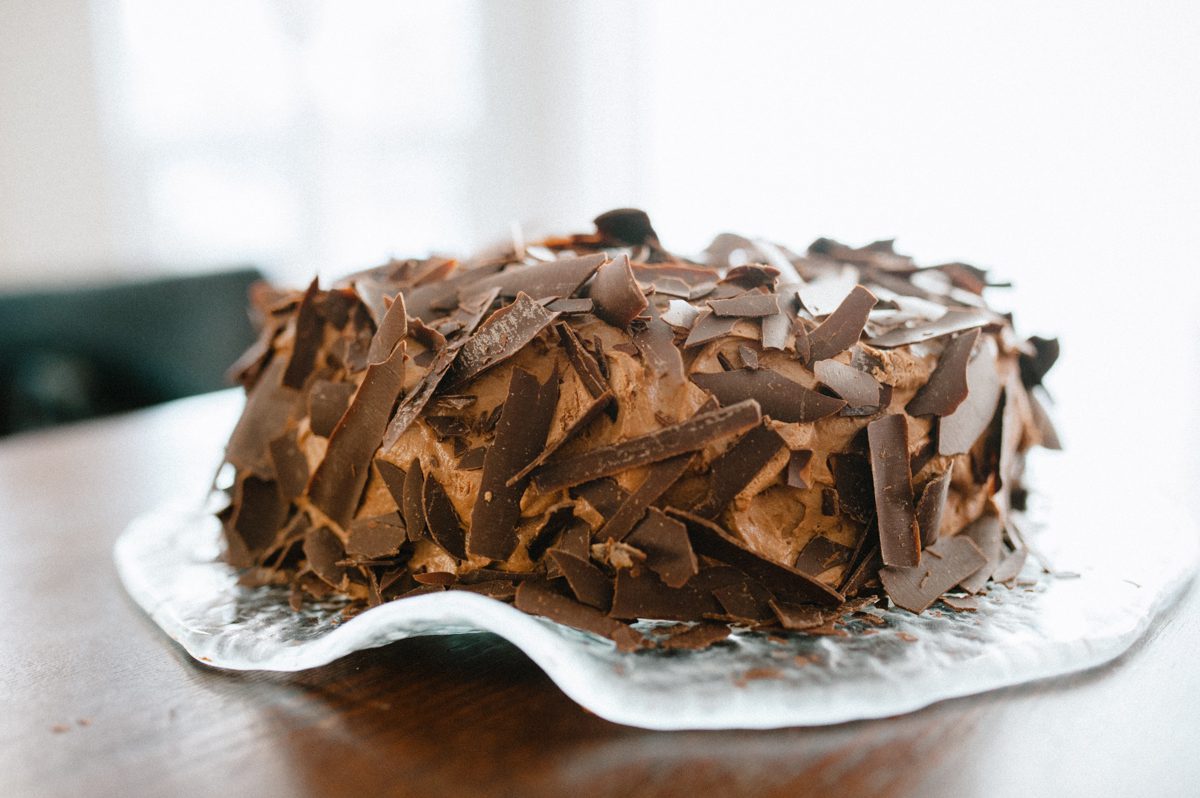
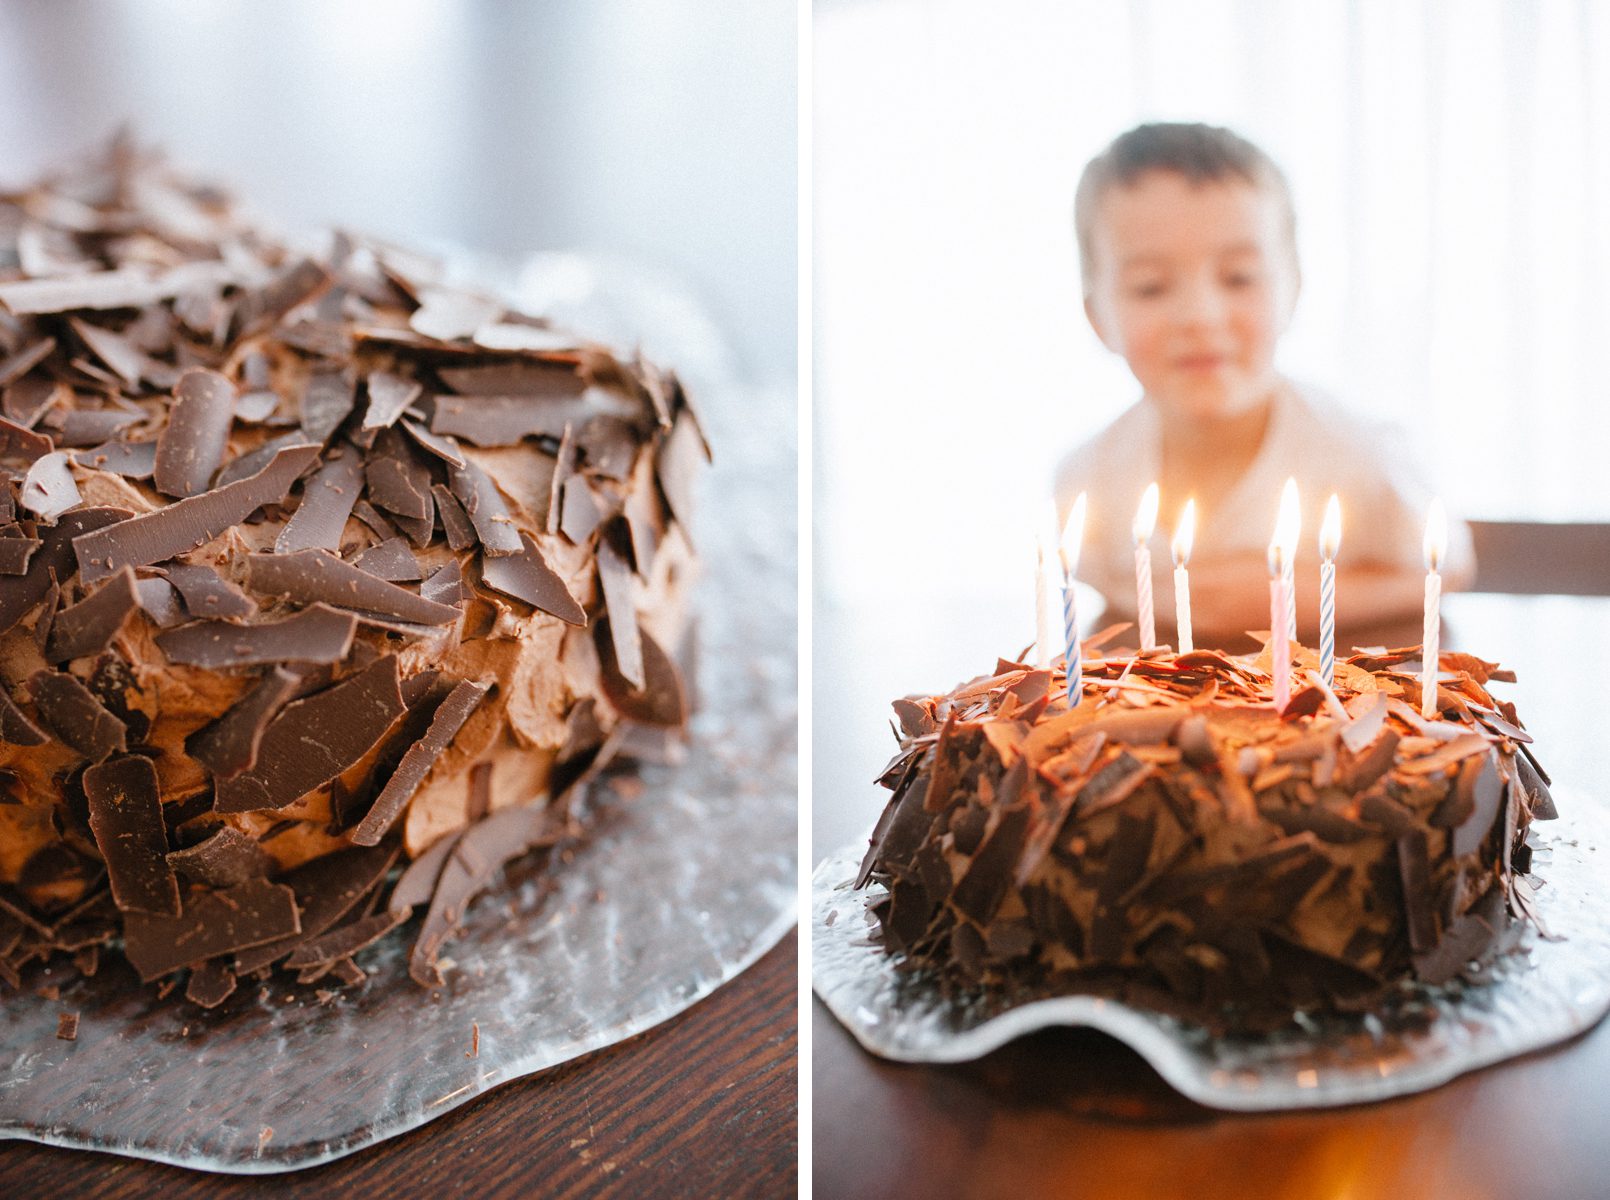
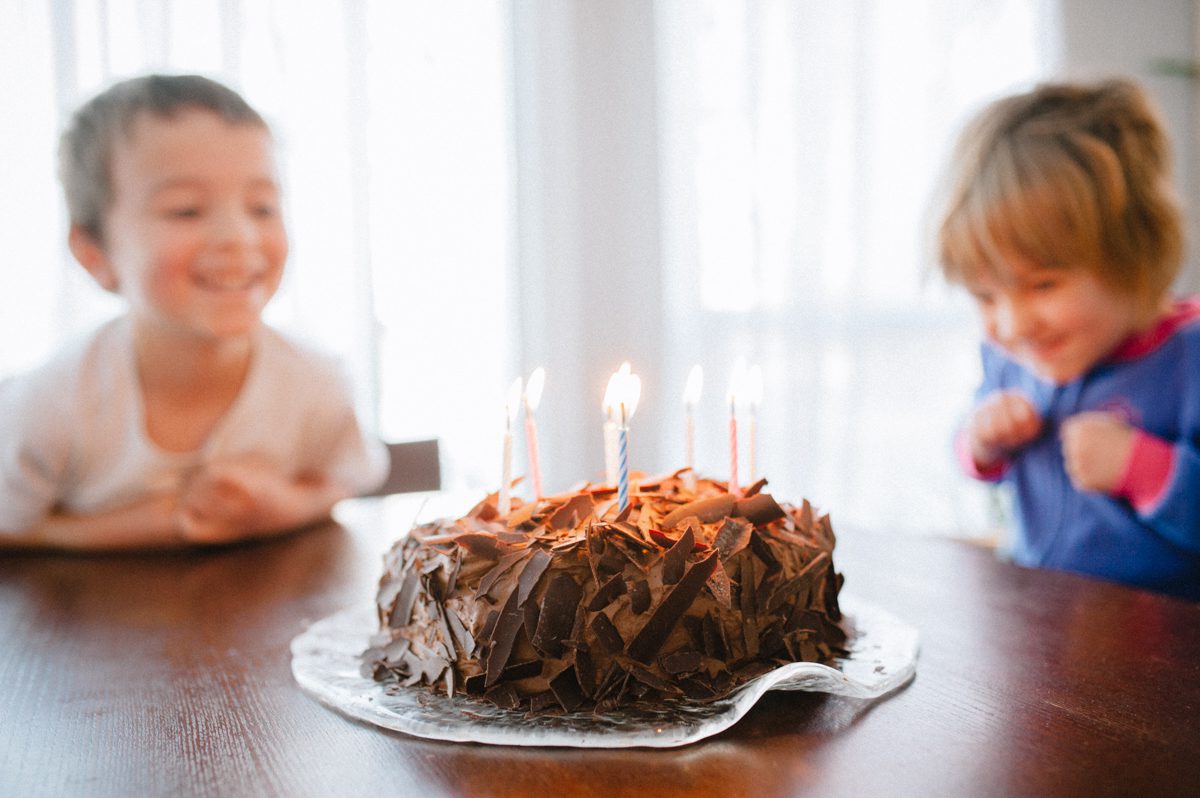
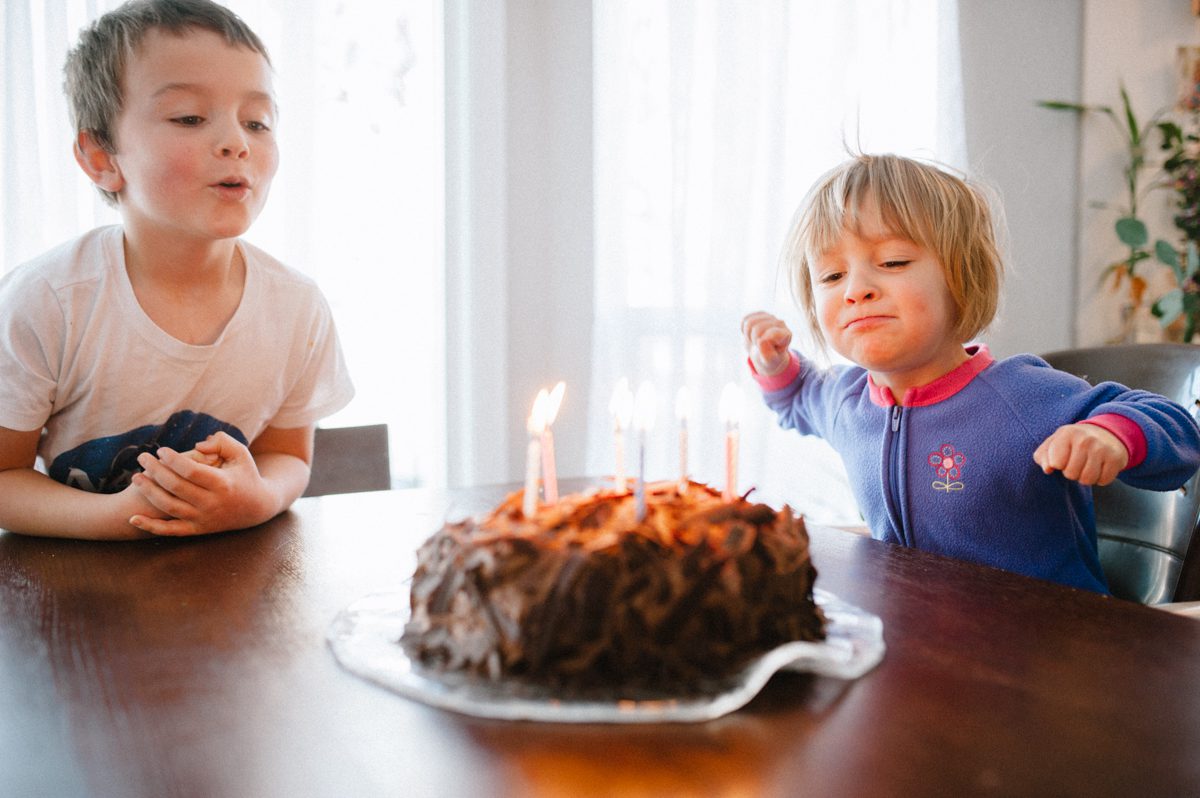
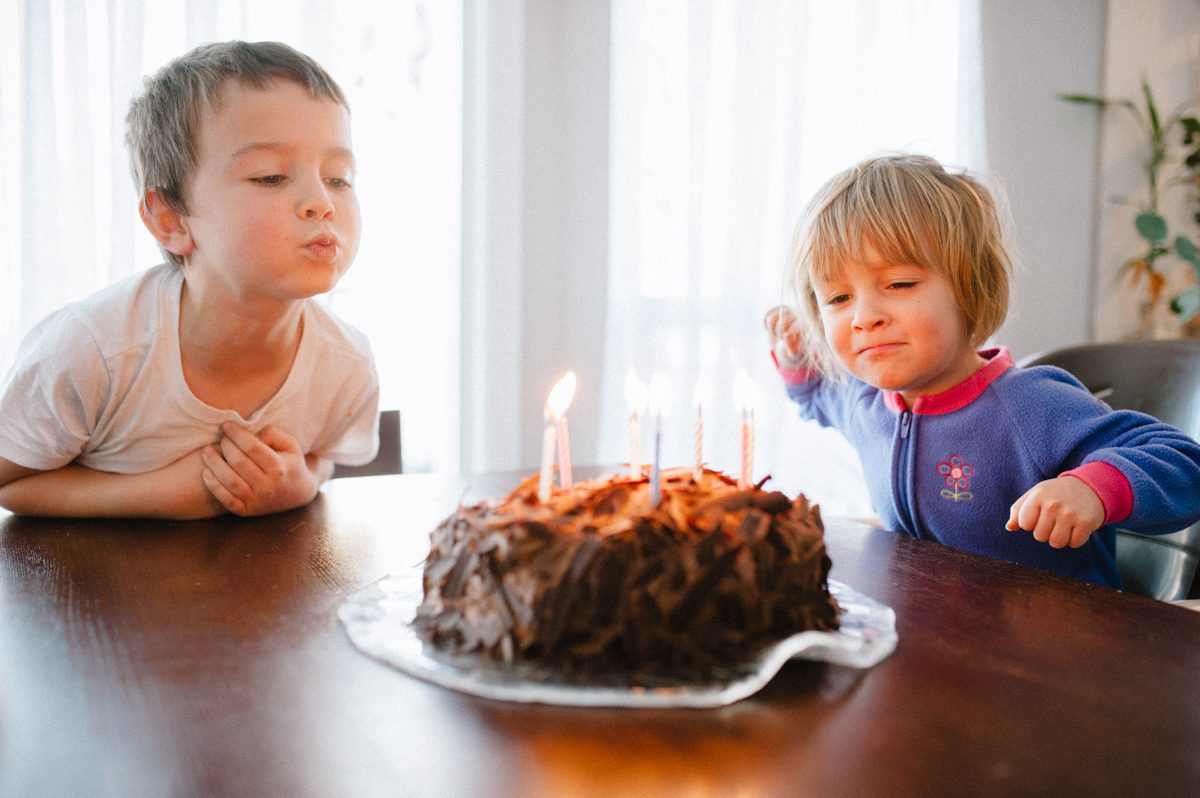
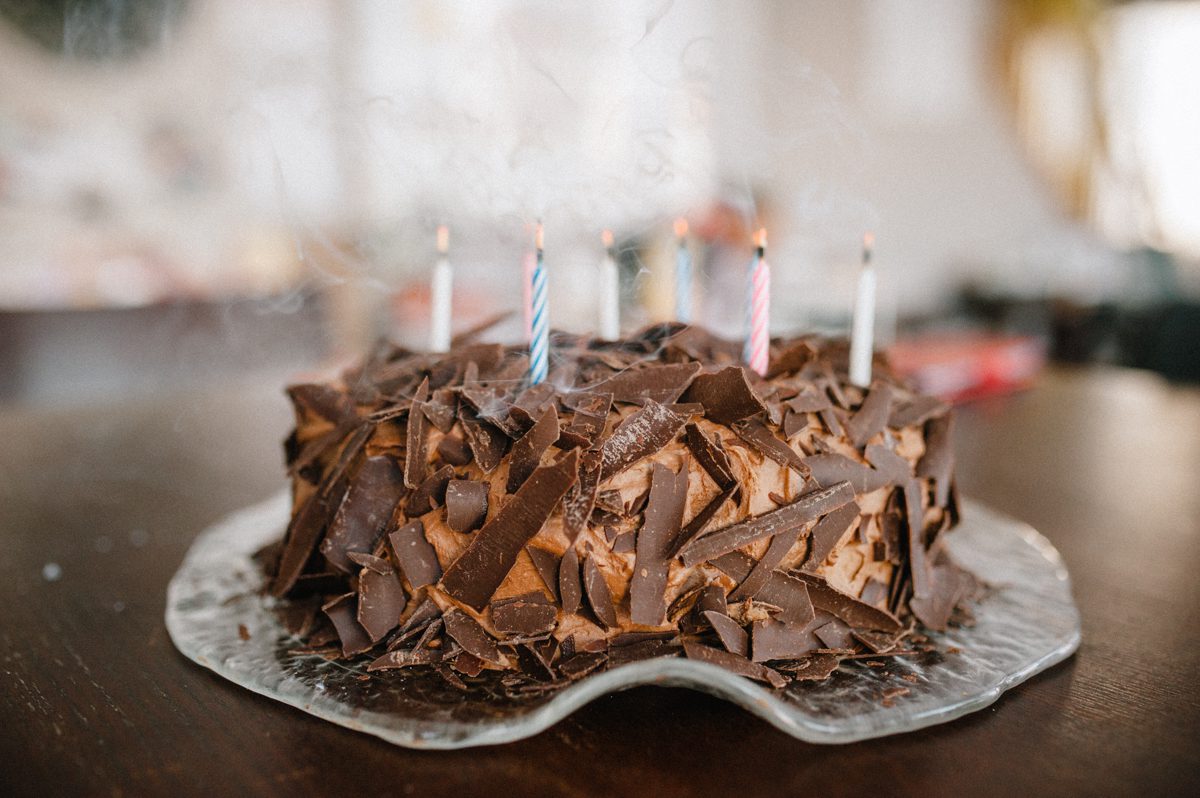
Last week I posted a picture of the cake I made for my birthday. Since then several of you have inquired about the recipe. So, here it is.
I don’t know who wrote this recipe. I’m not sure where it actually came from either. About 7 years ago I was at a local hardware store and they had a Fine Cooking magazine with a gorgeous chocolate cake on the front cover. I don’t like chocolate, at least not that much. But this cake was beautiful. And I wanted to make it.
The first time I made the cake I came to realize the magazine actually forgot to publish about the last 1/4 of the recipe instructions. And I failed making the mousse (because the instructions were missing). 7 years ago the internet wasn’t exactly where it is now… so the thought of looking online to find this or any mousse recipe wasn’t even something that crossed my mind. Any who, the cake didn’t look super gorgeous, but it sure was tasty.
I managed to loose the magazine and it’s 3/4 of the recipe. I remember looking online, searching for this cake. I paid money to some questionable website that claimed to have old issues of this magazine. After the money was paid, they sent me an italian magazine that had nothing to do with chocolate cake. Sad days.
Years past and after a desire to make the cake again, I searched for days once again online. Soon enough, I found the recipe. Slightly different instructions but many of the same pictures from the original magazine. I printed the recipe out and have keeping it safe ever since. (I just now did a google search for chocolate layer mousse cake, clicked images and found the recipe here within seconds. Boy, has the internet changed!)
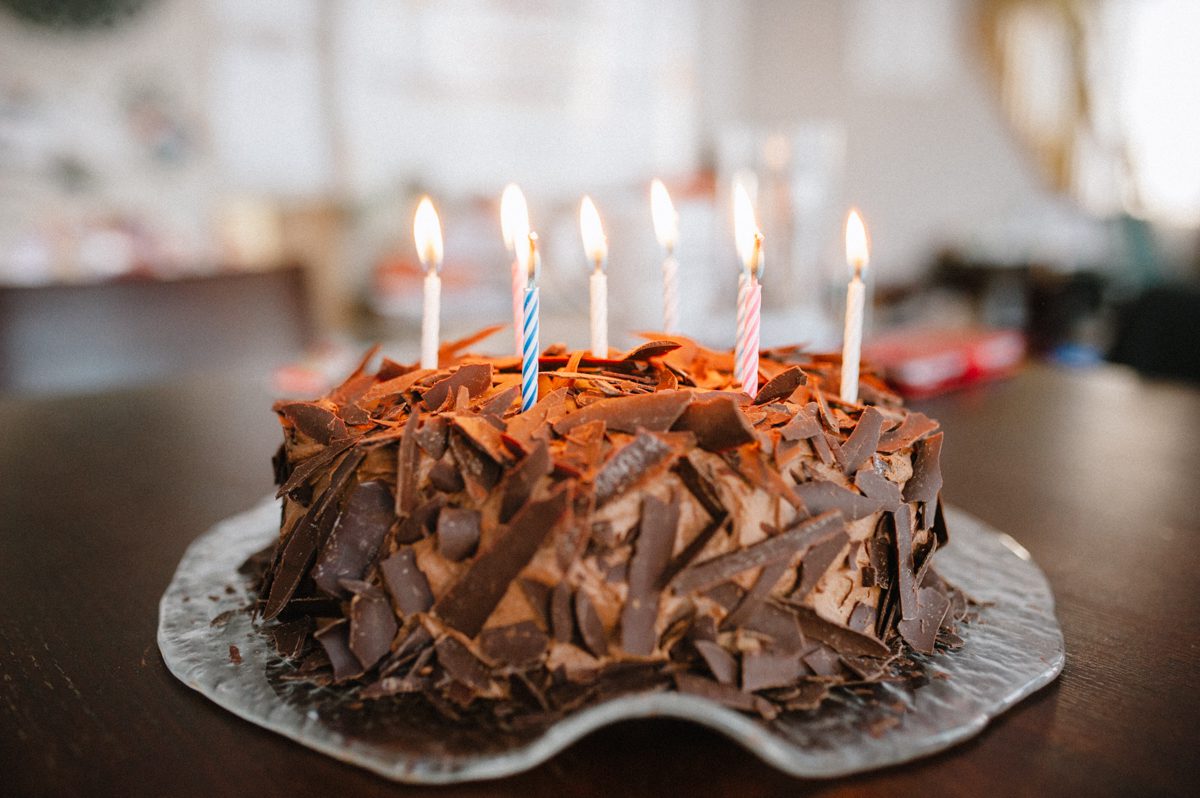
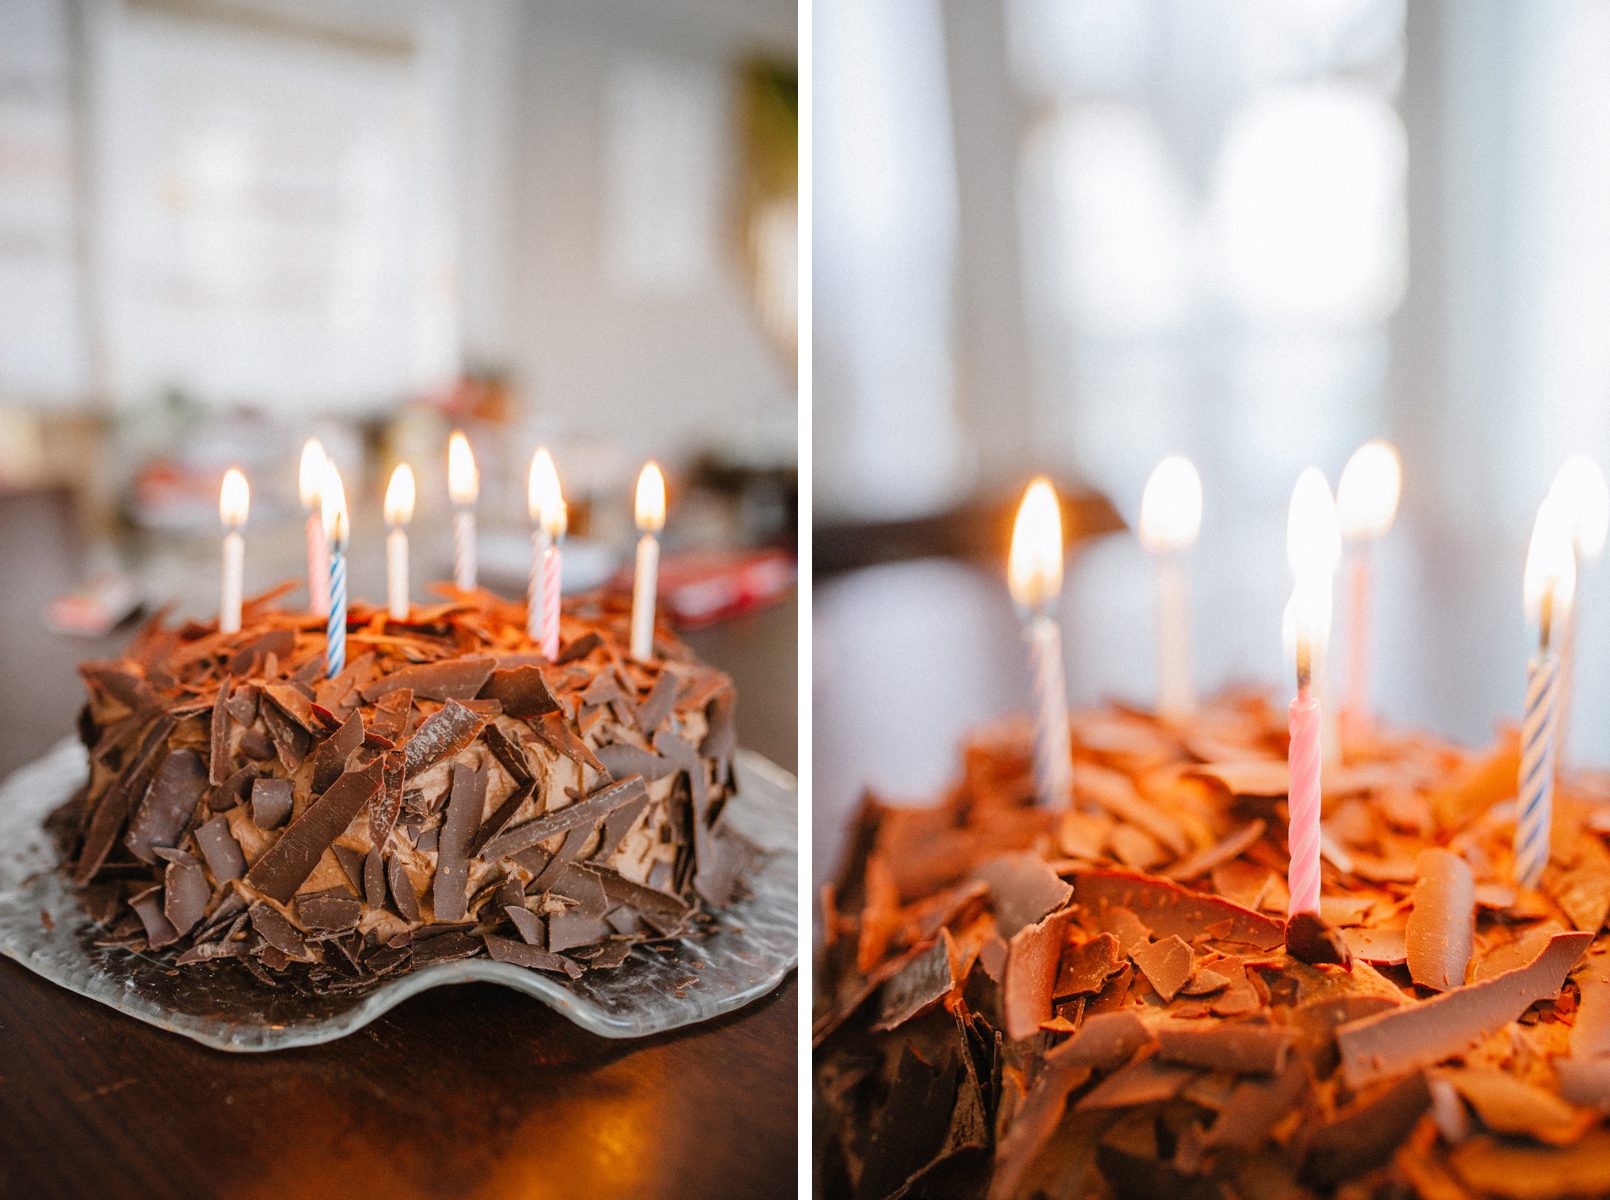
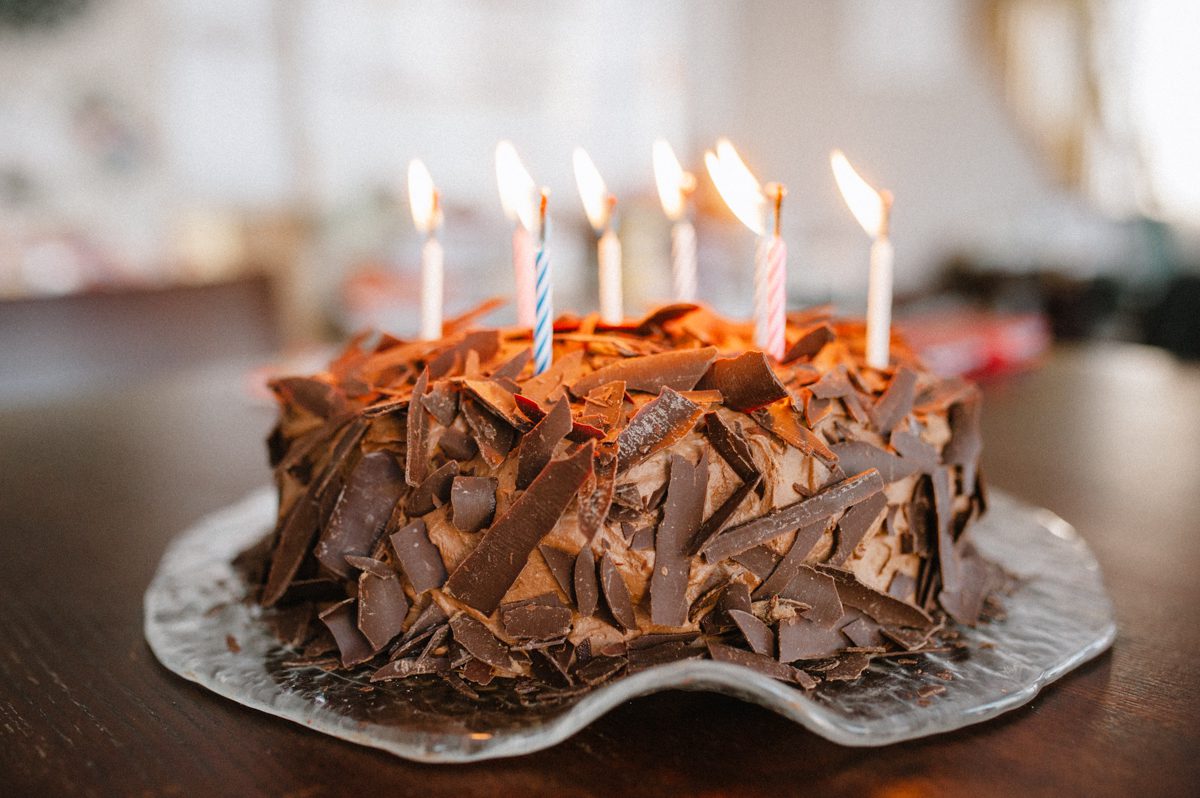
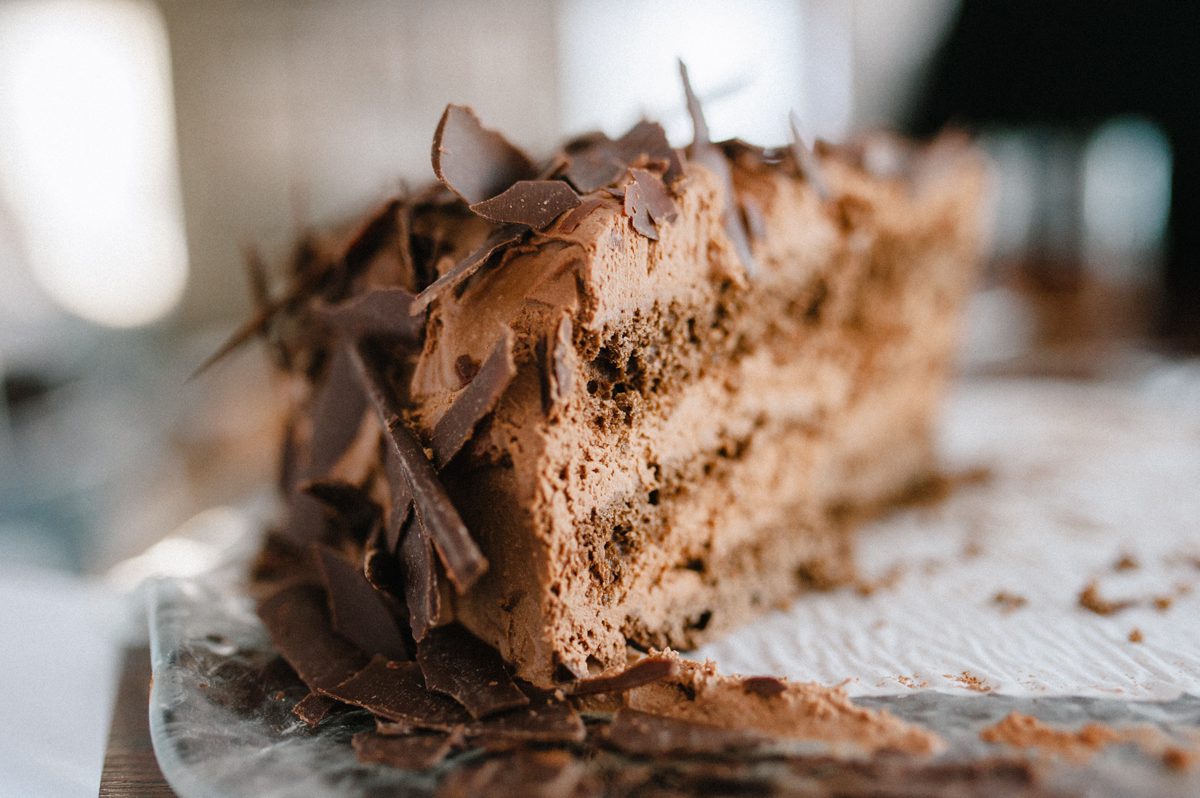
Here are some photos of the creation. I realized I didn’t snap any in the actual assembling of the cake, but the recipe covers that for you. Enjoy!


Again, here is the “original recipe”. And below is my version.
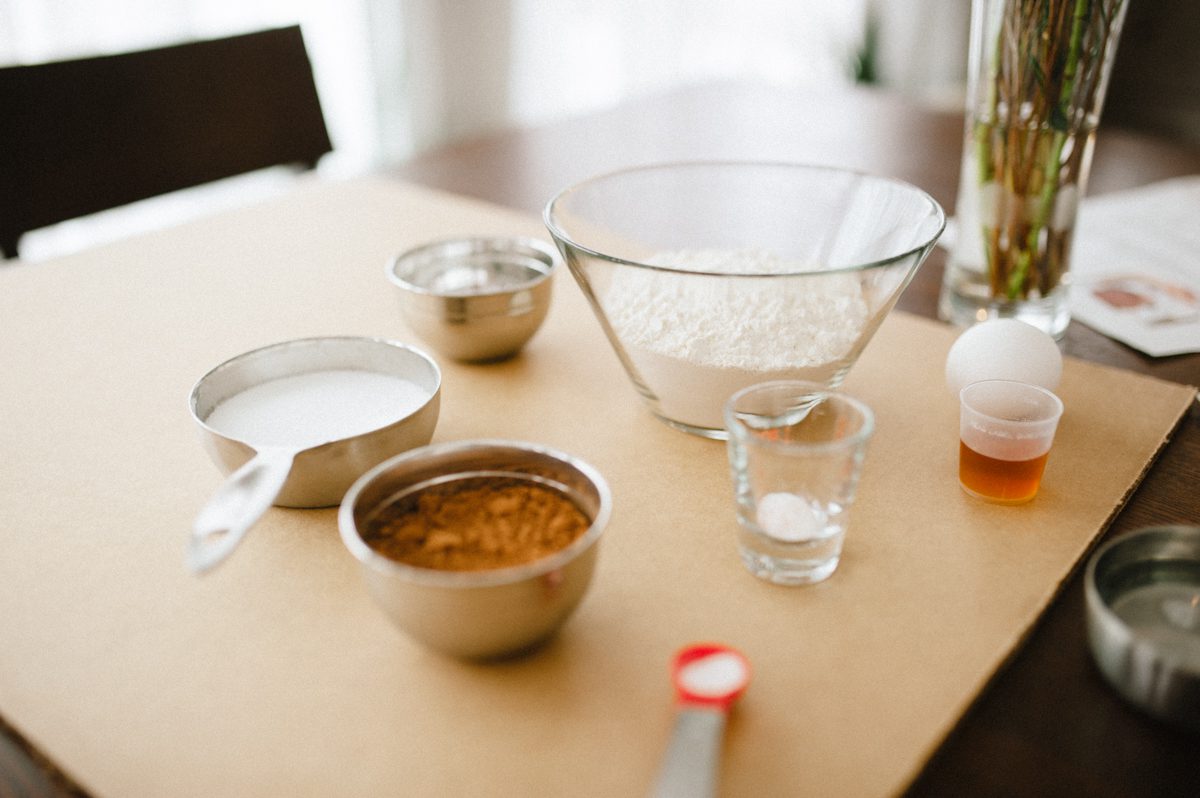
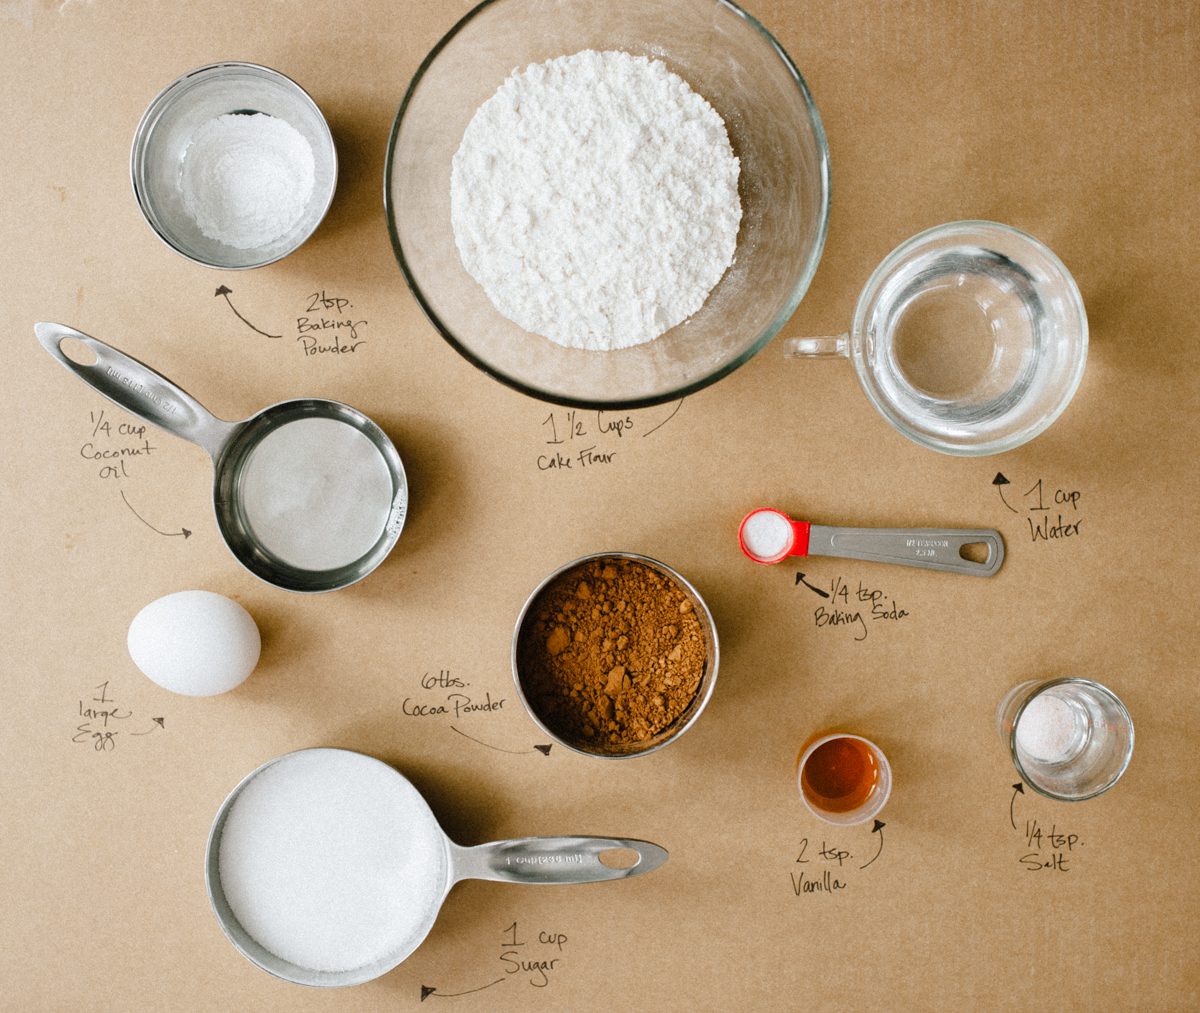
CAKE
- Coconut spray
- flour for pan
- 1-1/2 cups flour
- 3 table spoons of corn starch
- 6 Tbs. unsweetend natural cocoa powder
- 2 tsp. baking powder
- 1/4 tsp. baking soda
- 1/4 tsp sea salt
- 1 cup sugar (I use 1/2 cup stevia sugar baking mixture)
- 1/4 cup coconut oil
- 1 egg
- 2 tsp. pure vanilla extract
- 1 cup water
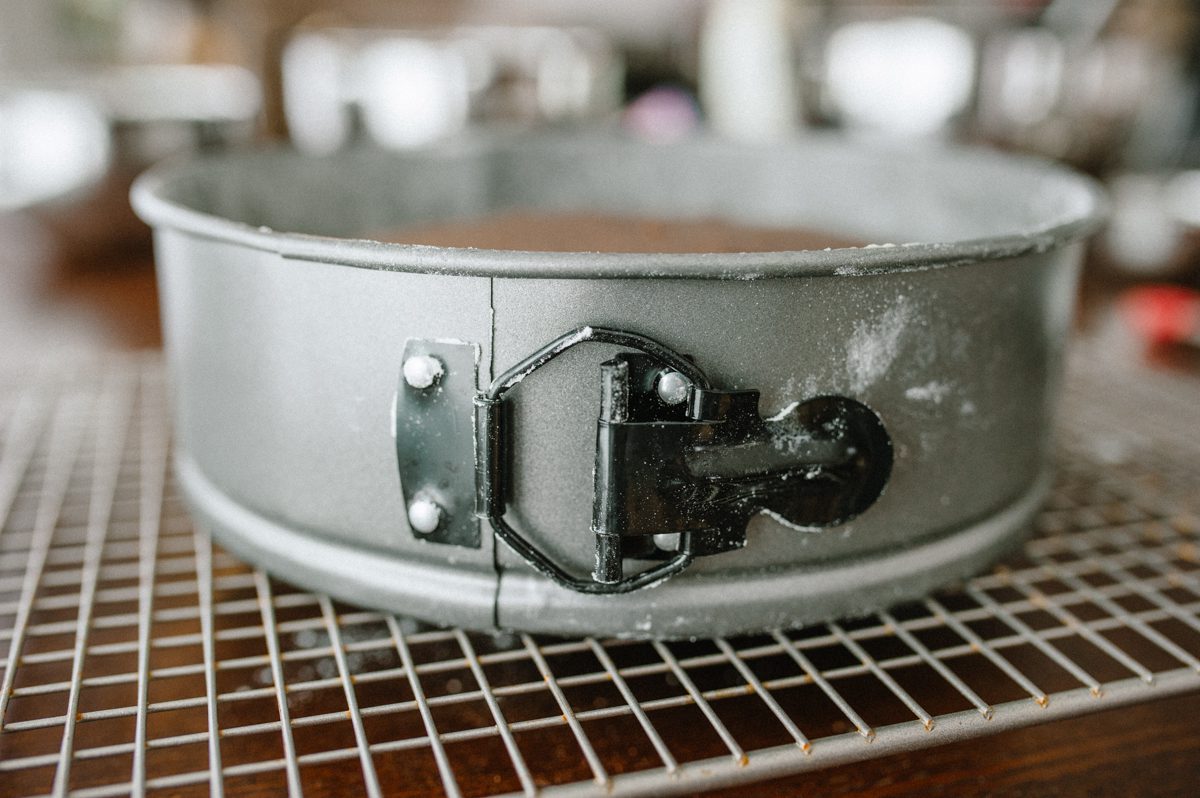
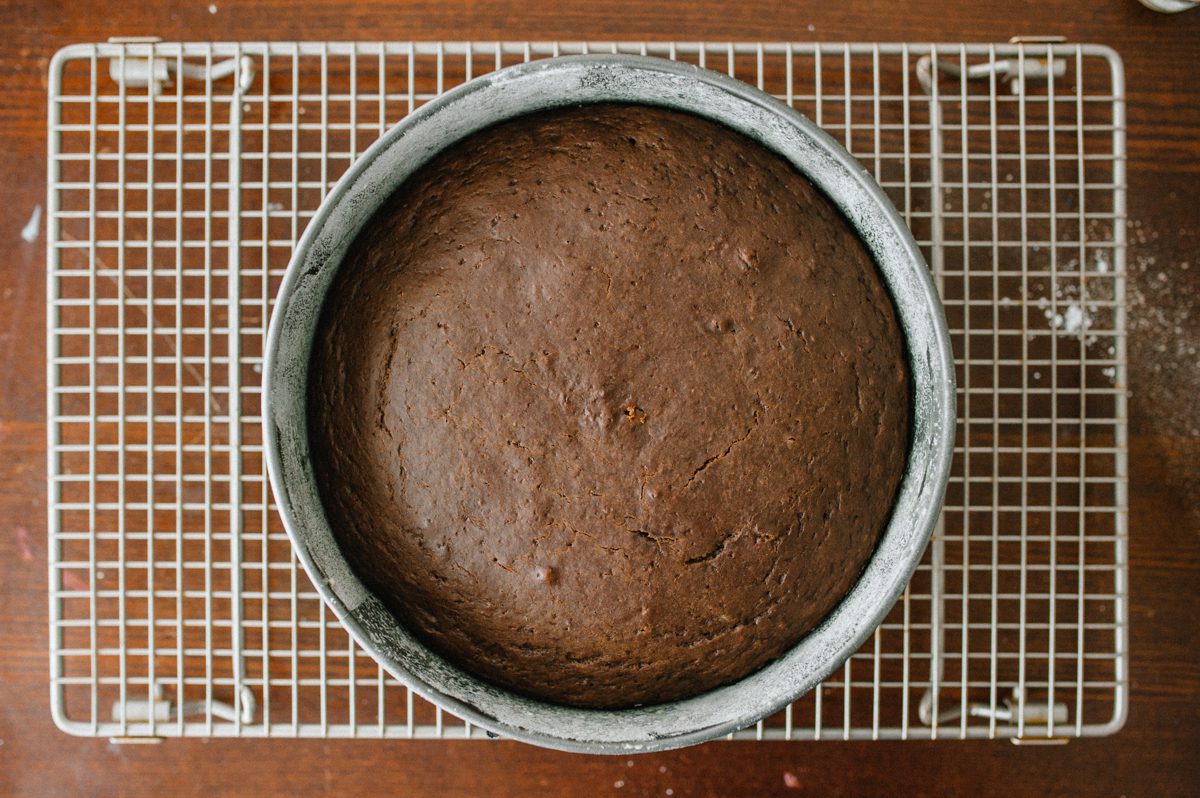
- Coconut spray a circle 9×2 inch spring formed pan. Flour the sides but not the bottom. Trace the bottom of the pan on a piece of parchment paper and cut it out, placing on the bottom of the circle pan. Turn oven to 325° F.
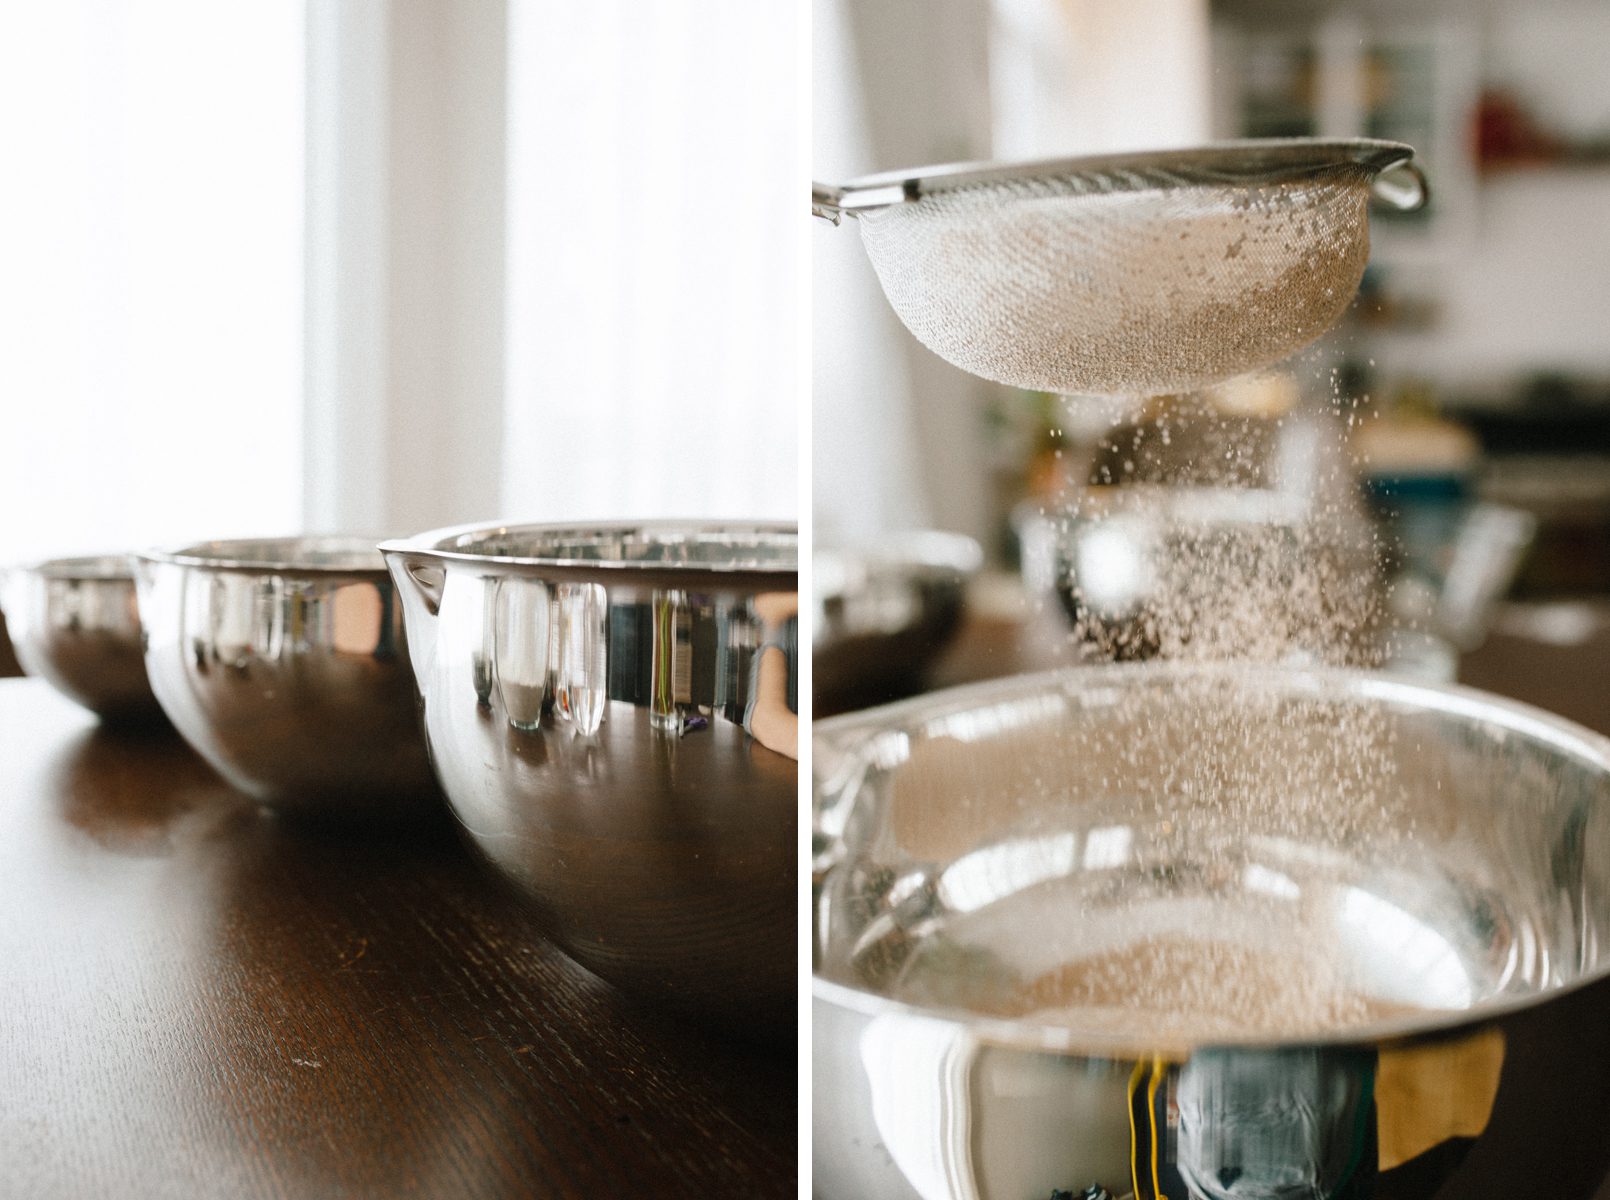
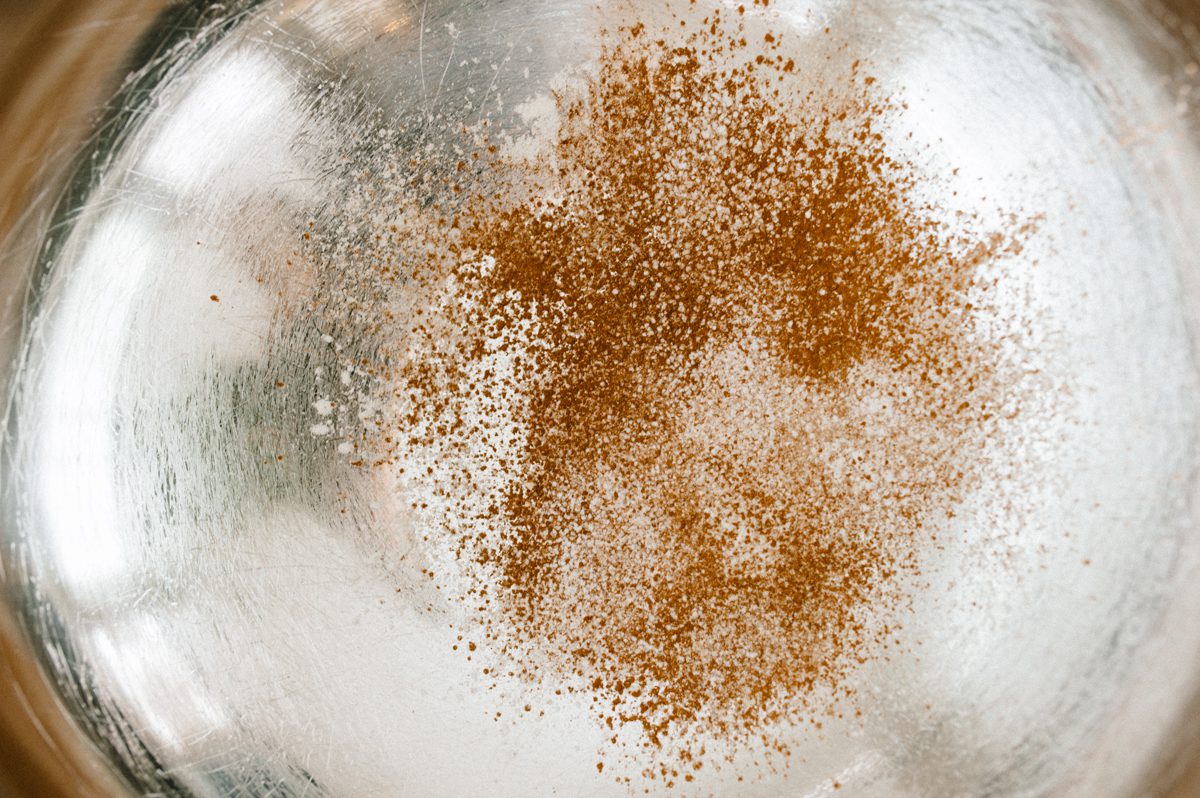
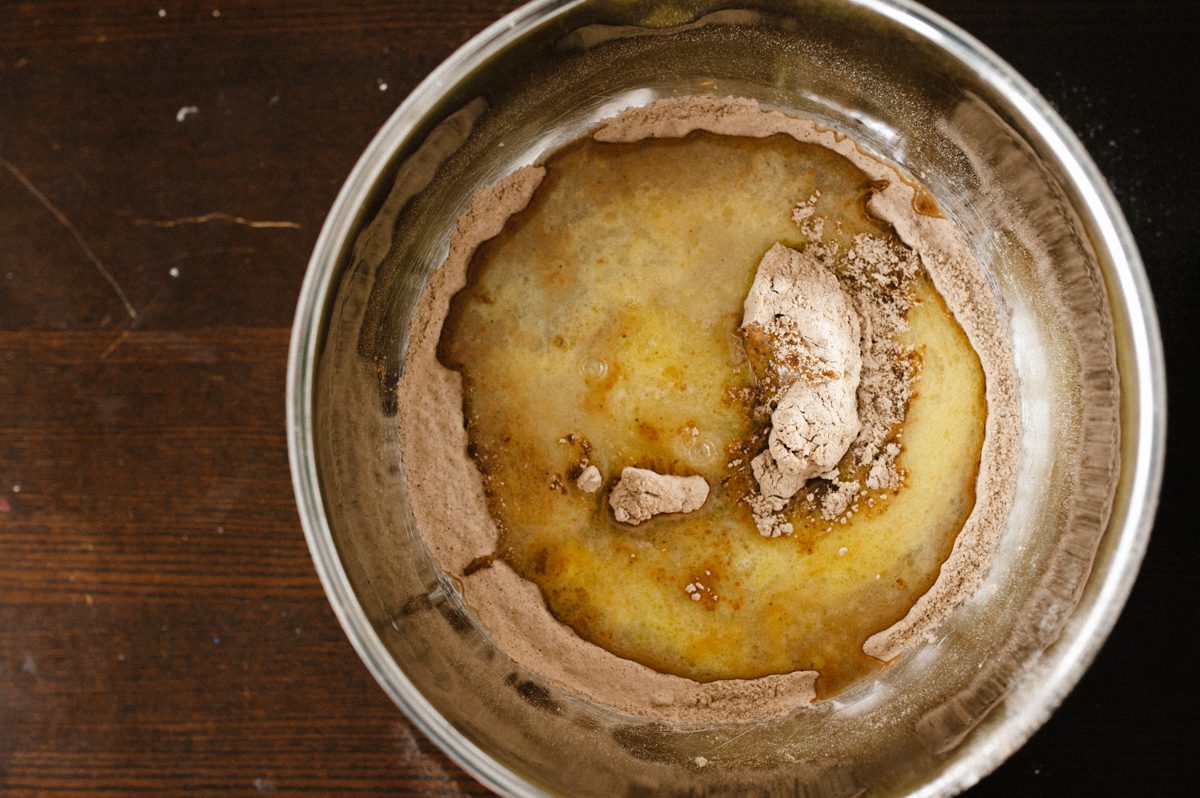
- Sift flour, corn starch, cocoa powder, baking powder, and baking soda into a large bowl. Add the sea salt and sugar and whisk.
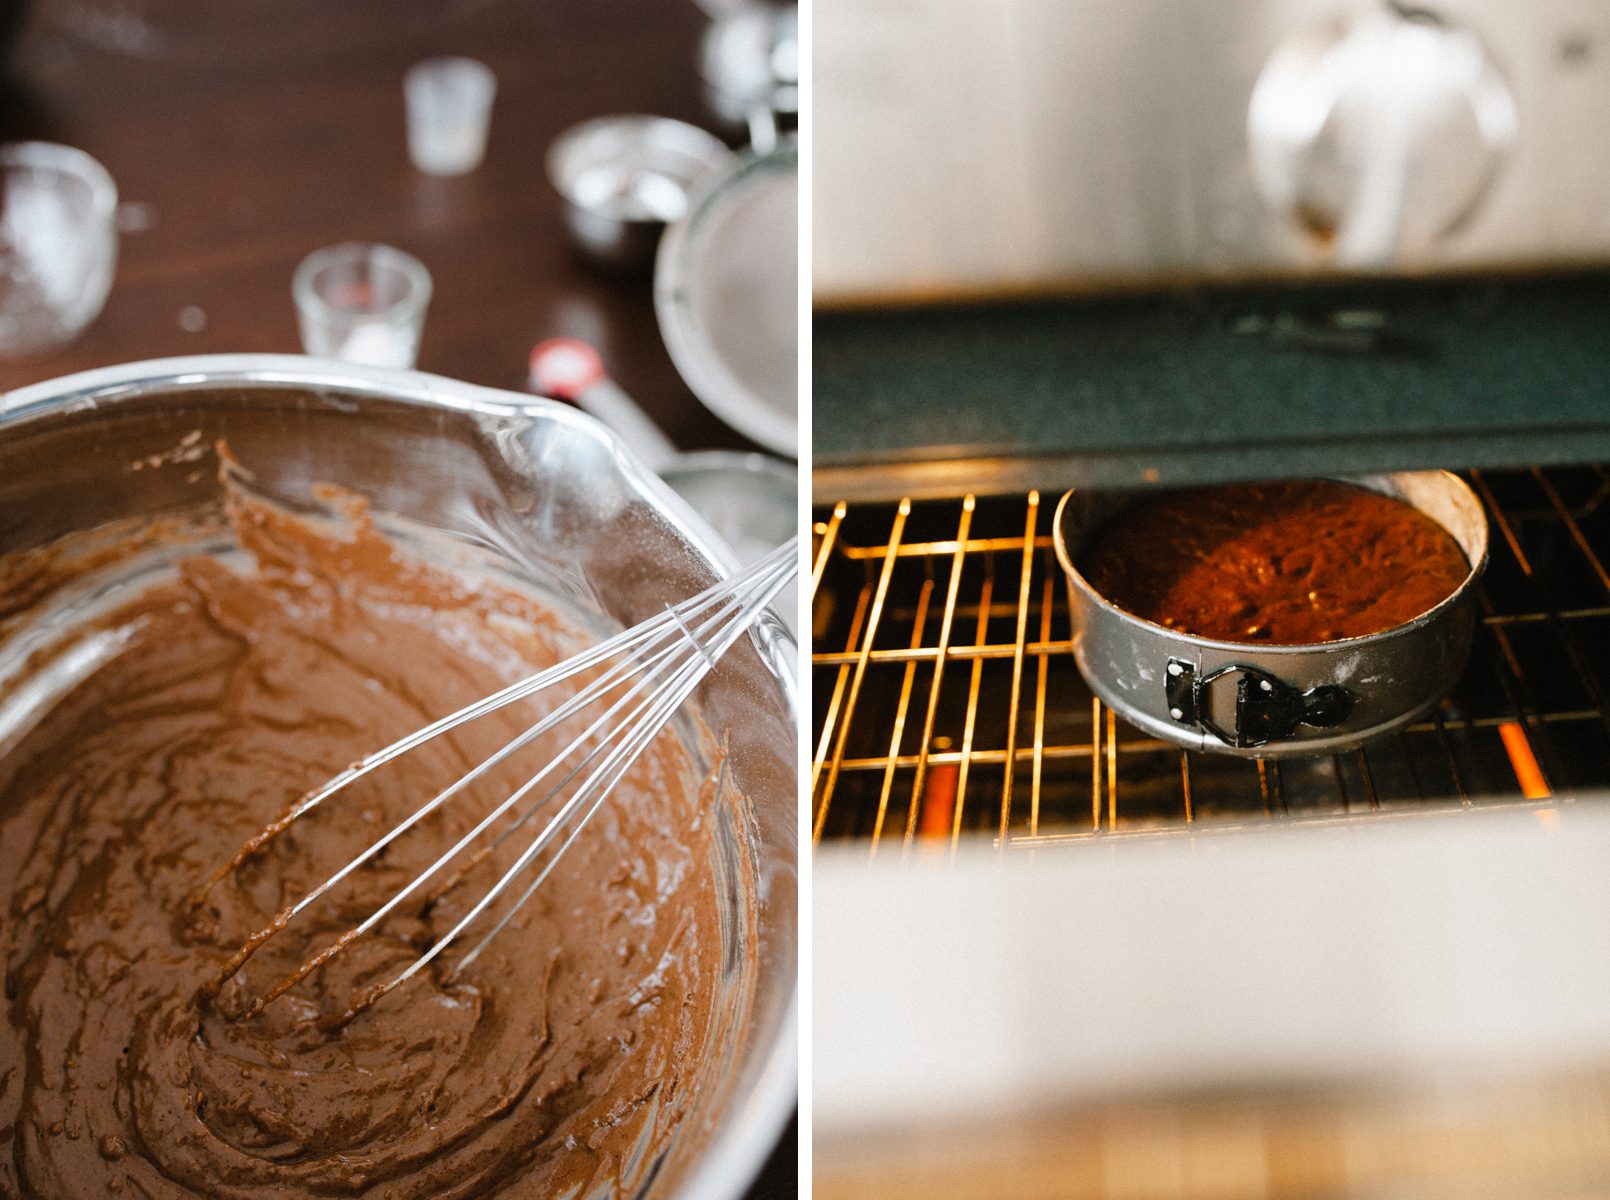
- In a large measuring cup, melt the coconut oil. Mix in the egg and vanilla. Place this liquid mixture and the cup of water into the dry ingredients bowl. Whisk with your hand until all becomes moist (they say about 1 minute). It will be lumpy – it’s cool.
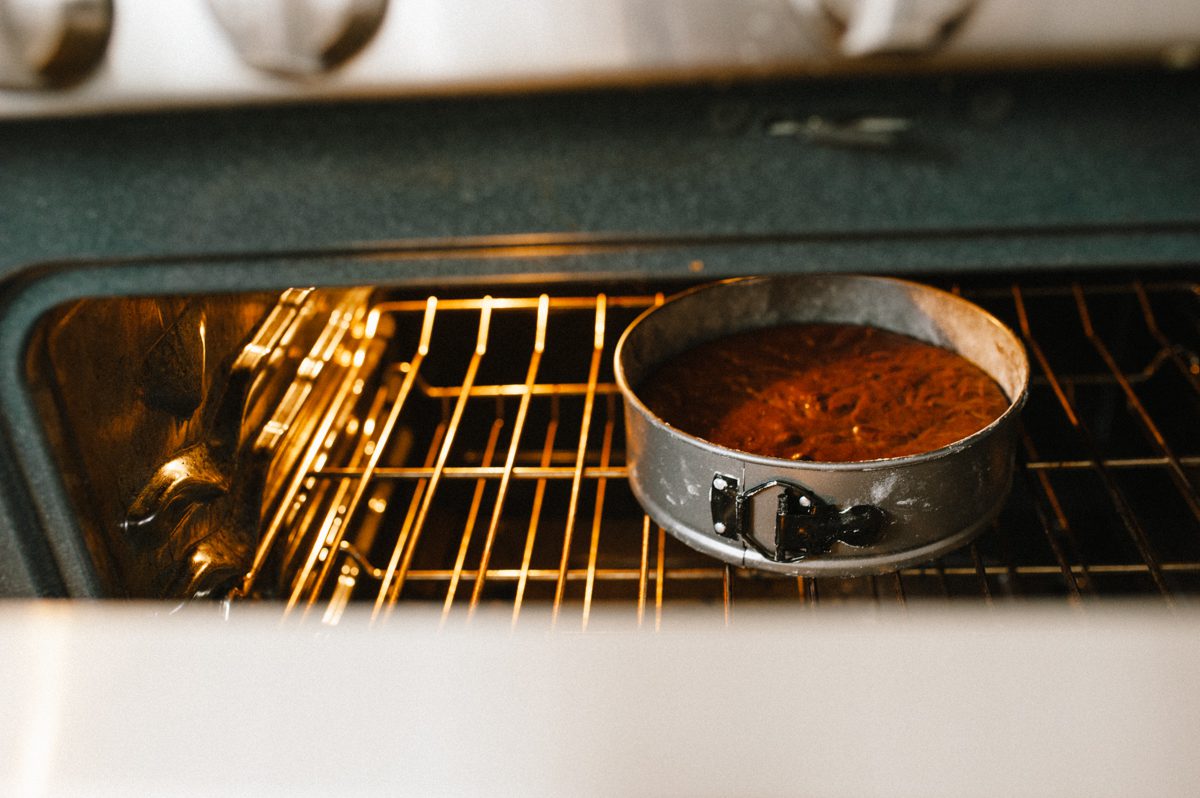
- Pour batter into prepared pan and place in your preheated oven!
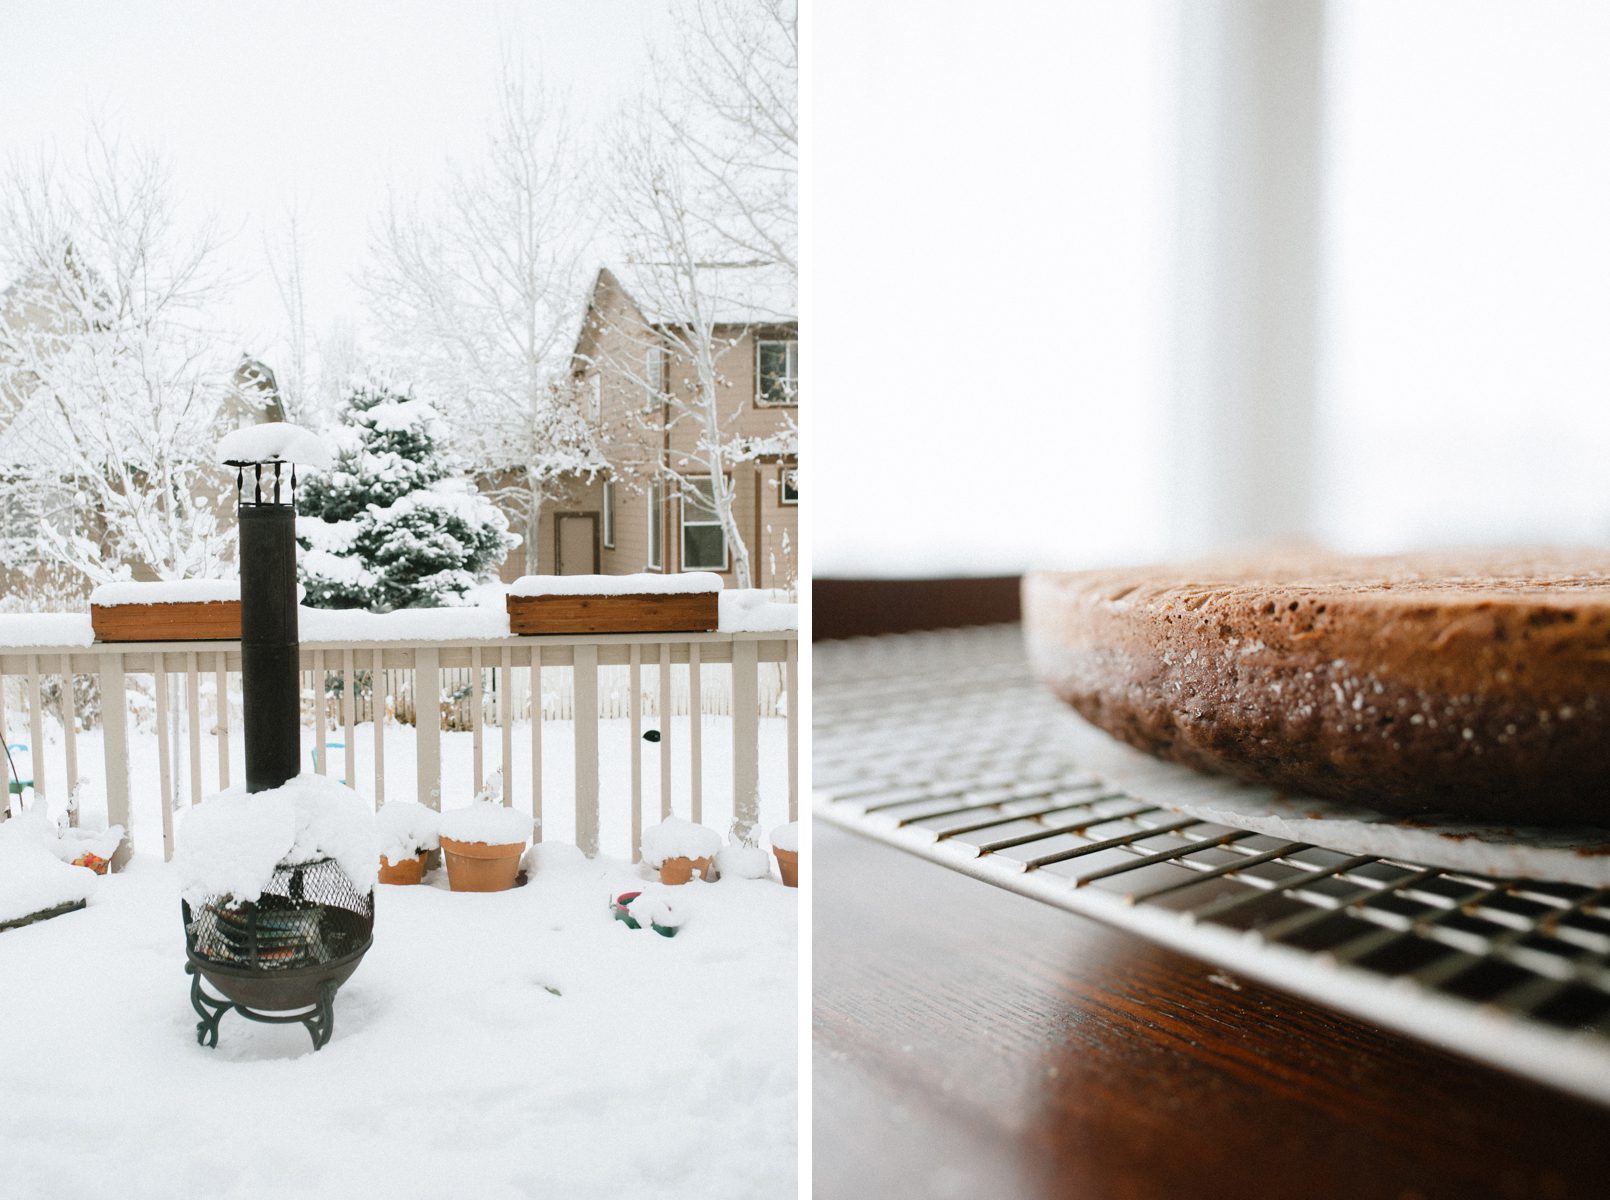
- Look around your house and take photos of pretty things that make you happy.
- Bake for about 32 minutes – just stick a toothpick and if it comes out clean, it’s done!
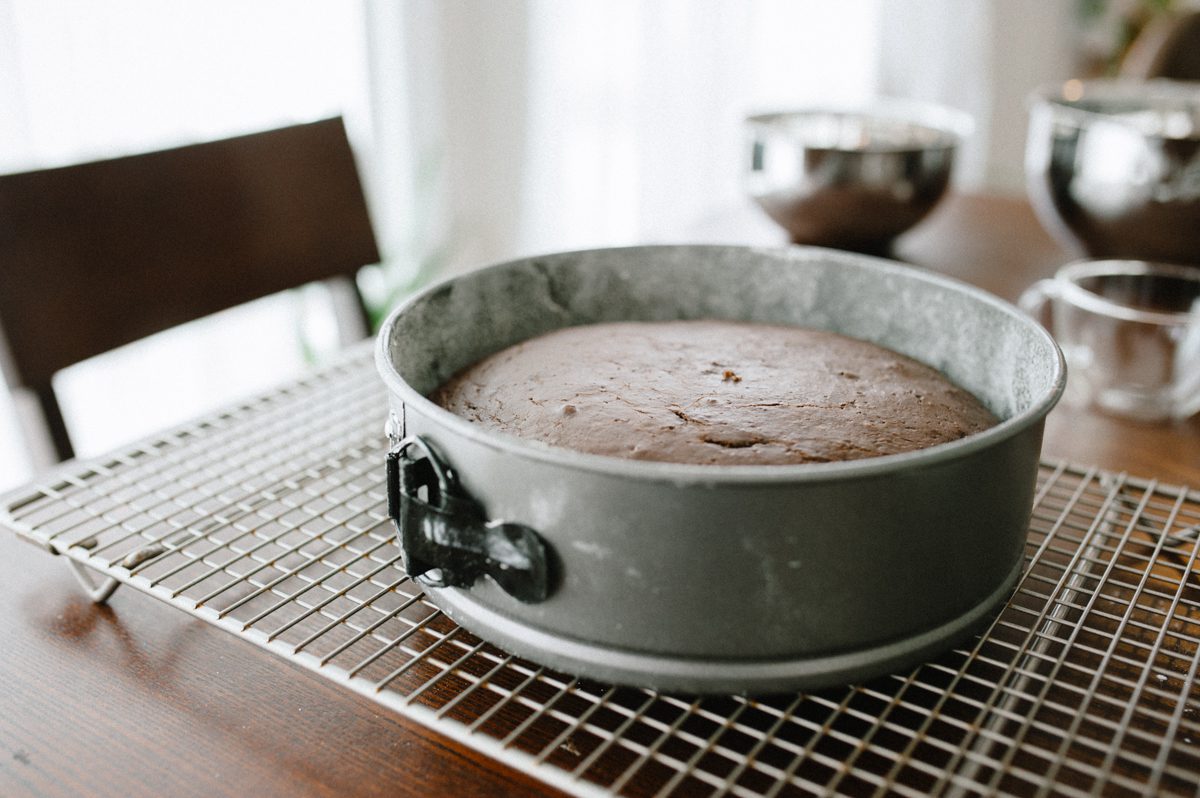
- Let cool for 20ish minutes.
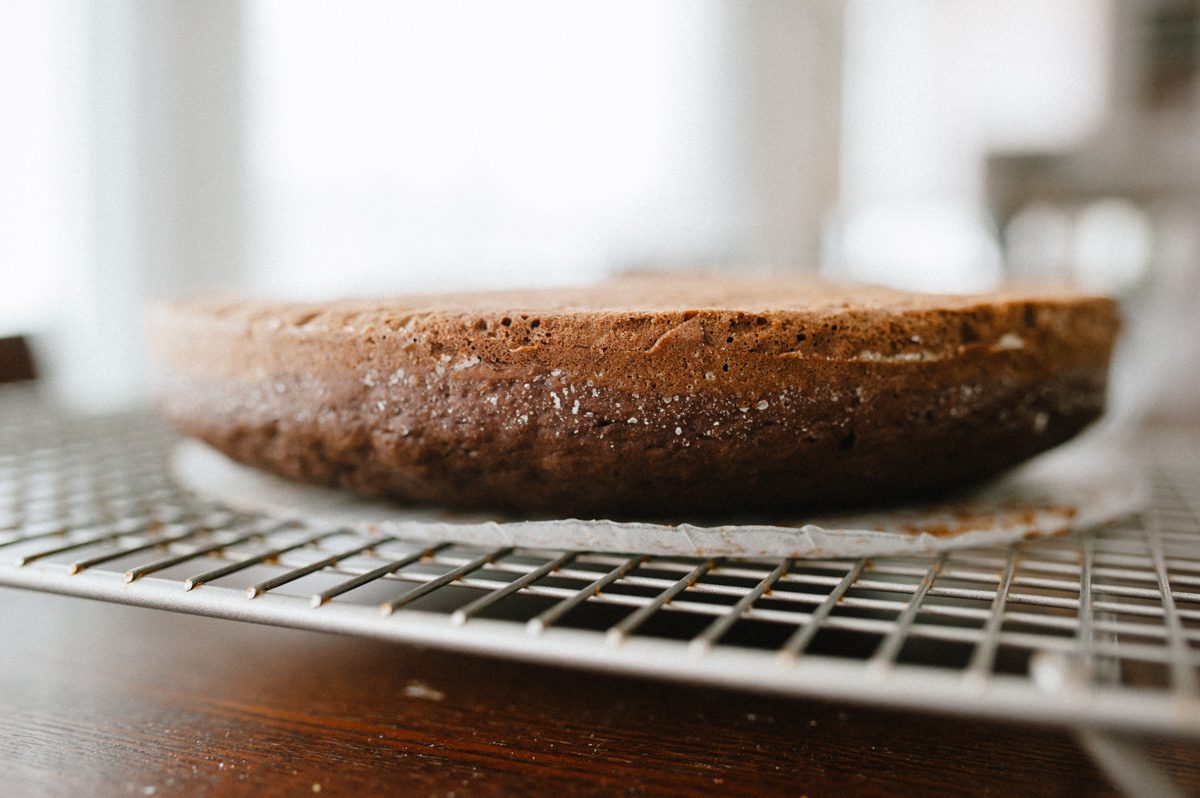
- Grease a wire rack and carefully release the spring form pan to place the cake upside down on the rack. Peal of the parchment paper and let cool completely.
MOUSSE
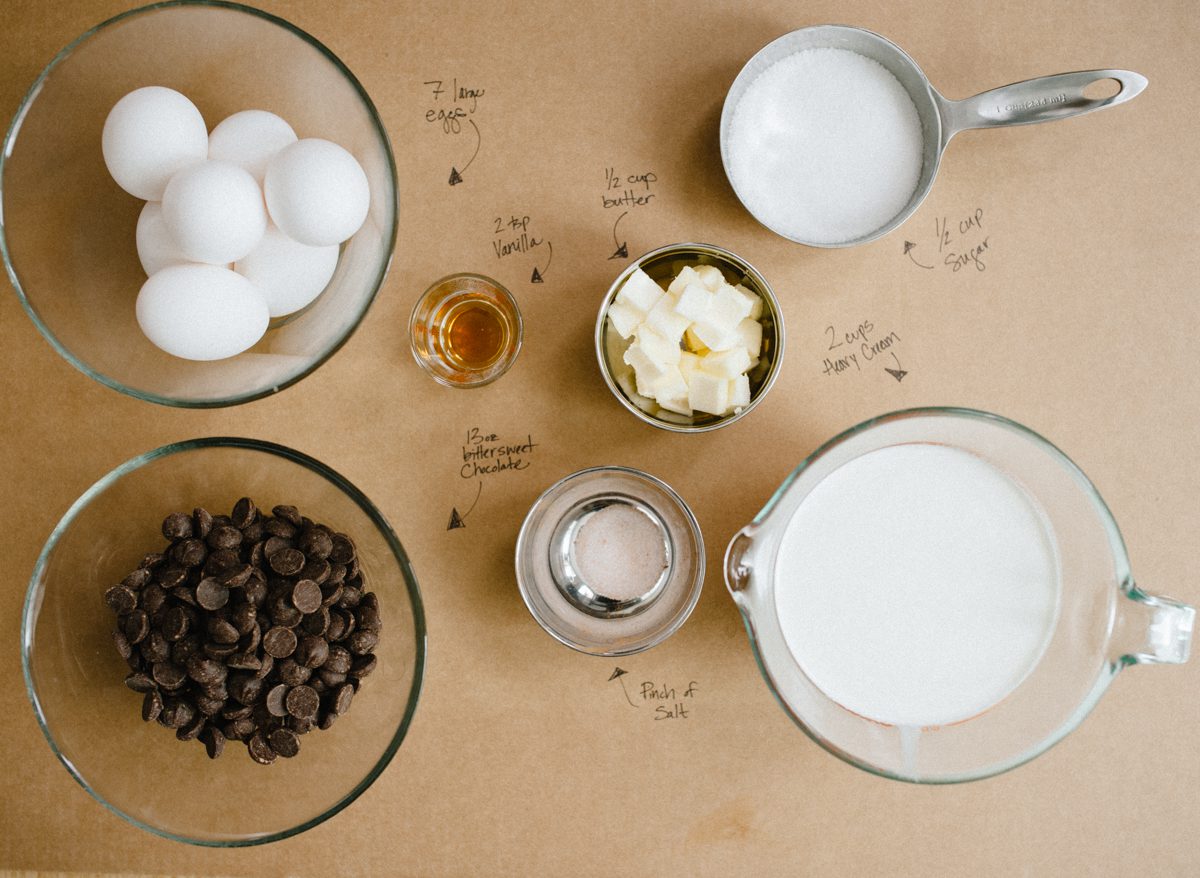
- 2 cups heavy cream
- 1/4 cup + 1 Tbs unsweetened natural cocoa powder
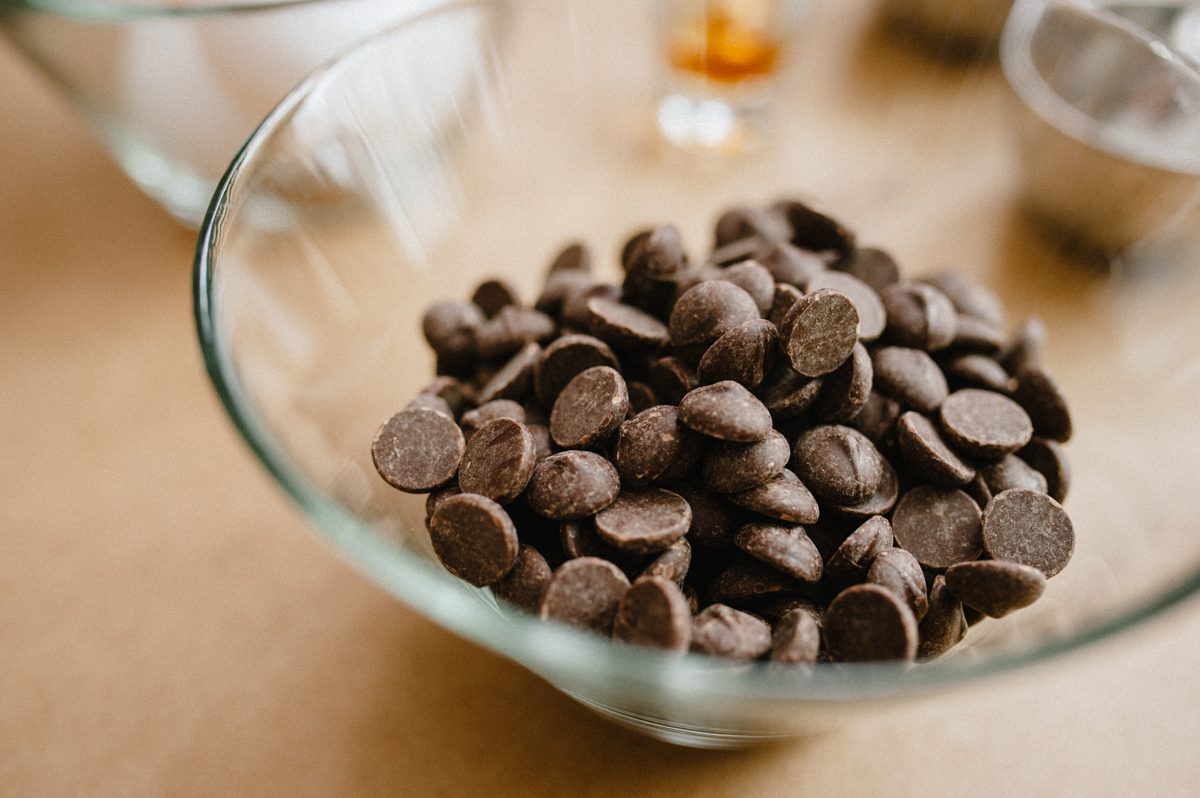
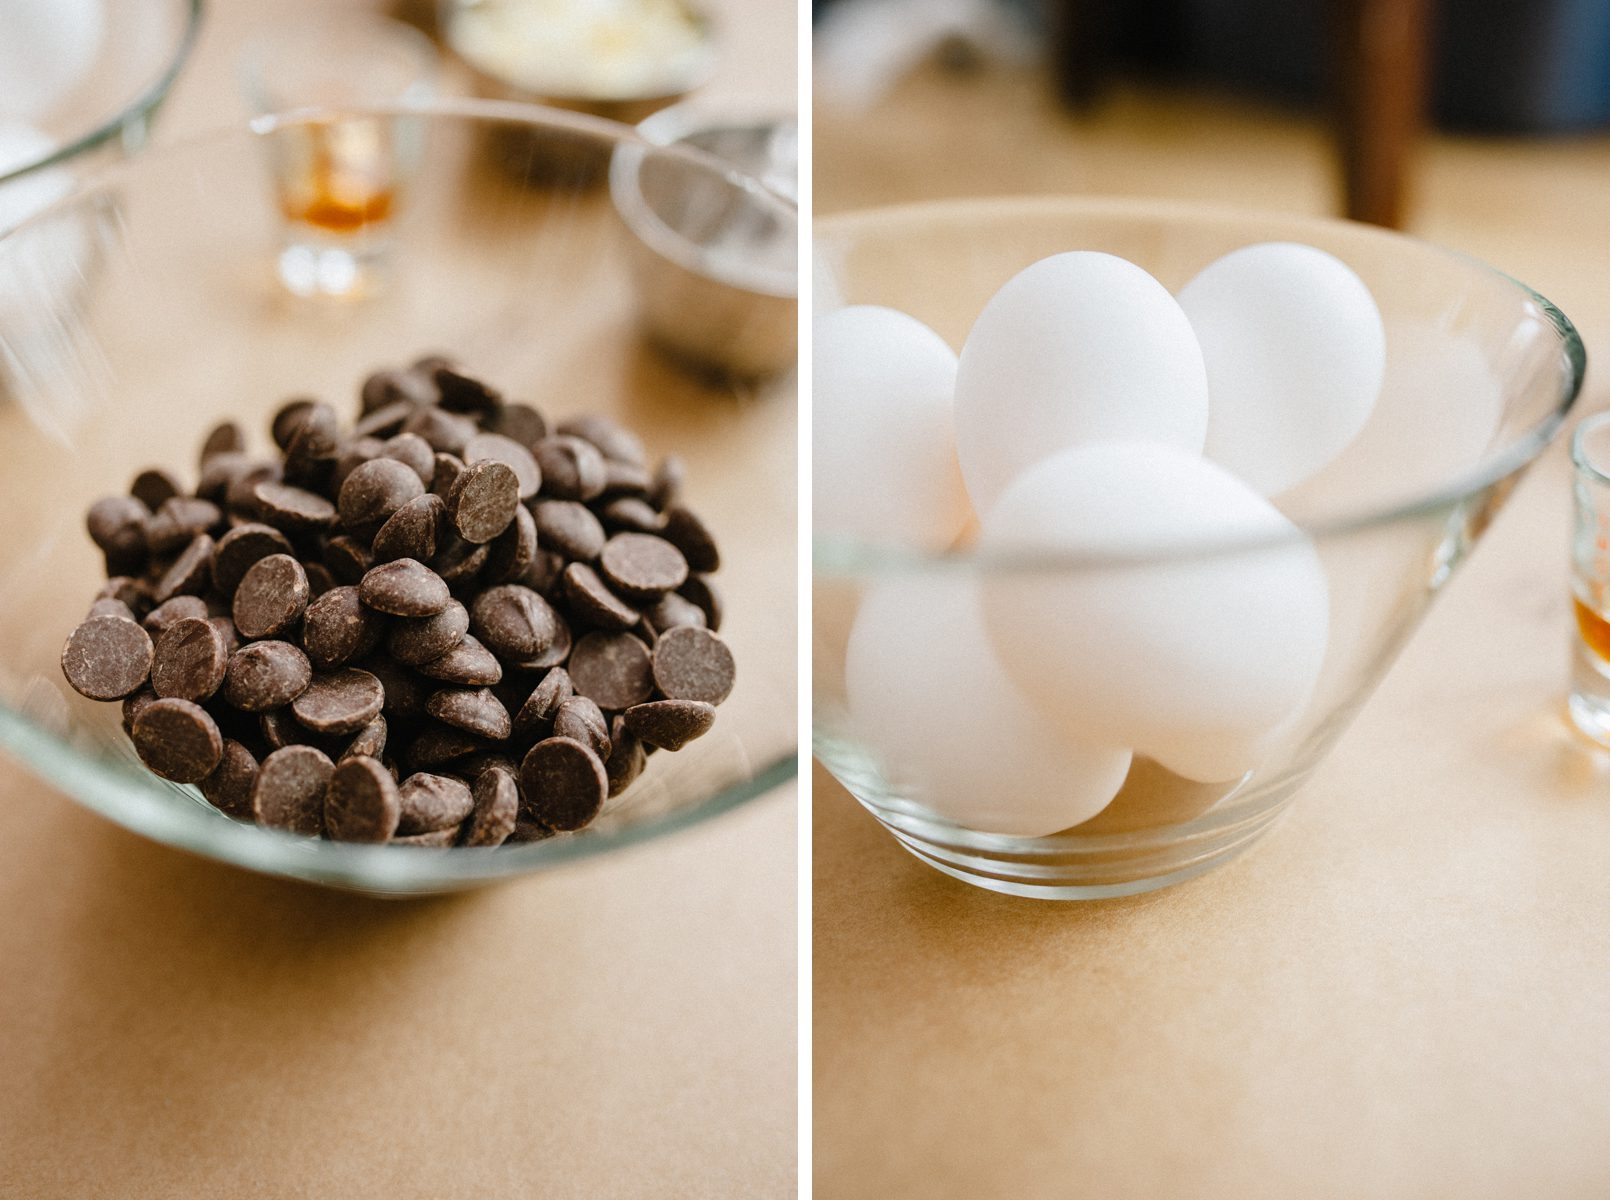
- 13 oz. bitter sweet chocolate chips
- 1/2 cup unsalted butter at room temperature. Cut into small pieces.
- 2 tsp pure vanilla extract
- Pinch of sea salt
- 7 large eggs at room temperature (just need the whites)
- 1/2 cup granulated sugar (again, I used a 1/4 cup stevia sugar baking mixture)
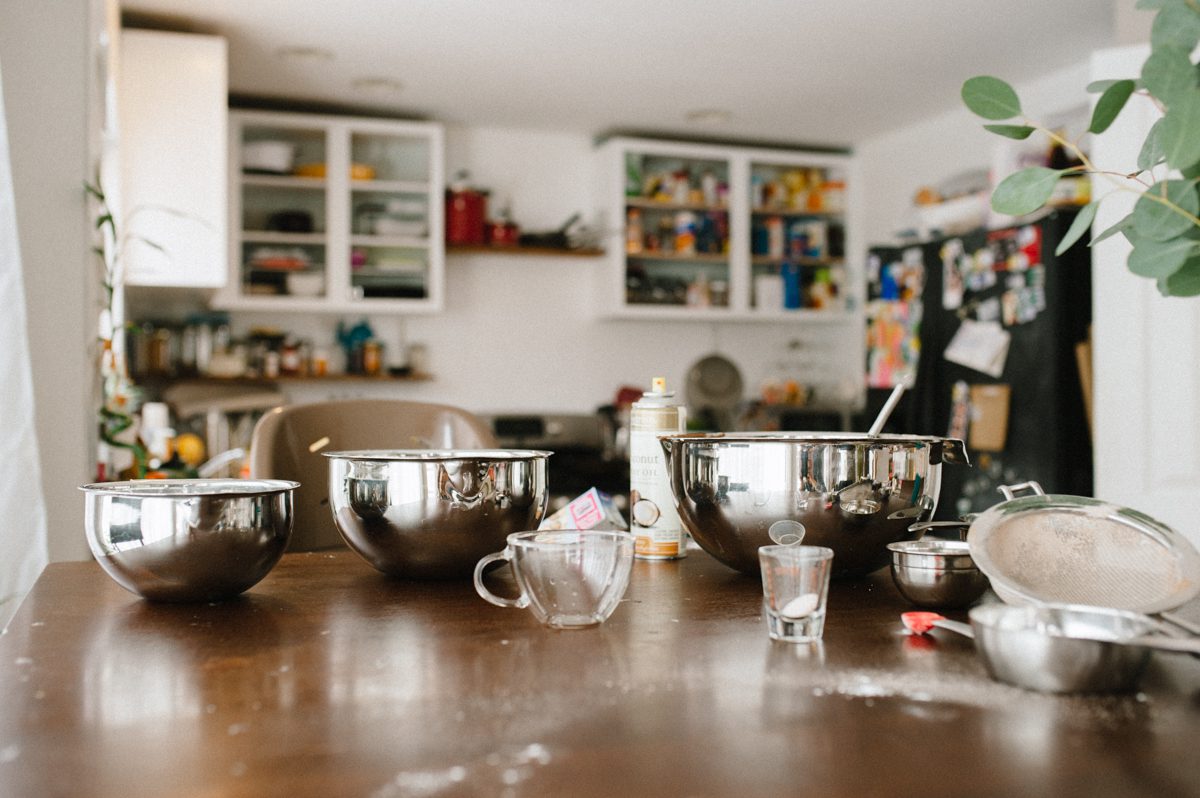
- Ice Bath. This will make or break you. You need to grab two larger bowls, the smaller of the two bowls needs to fit within the other. The larger bowl fill with some ice and water – I have learned there should be more water than ice.
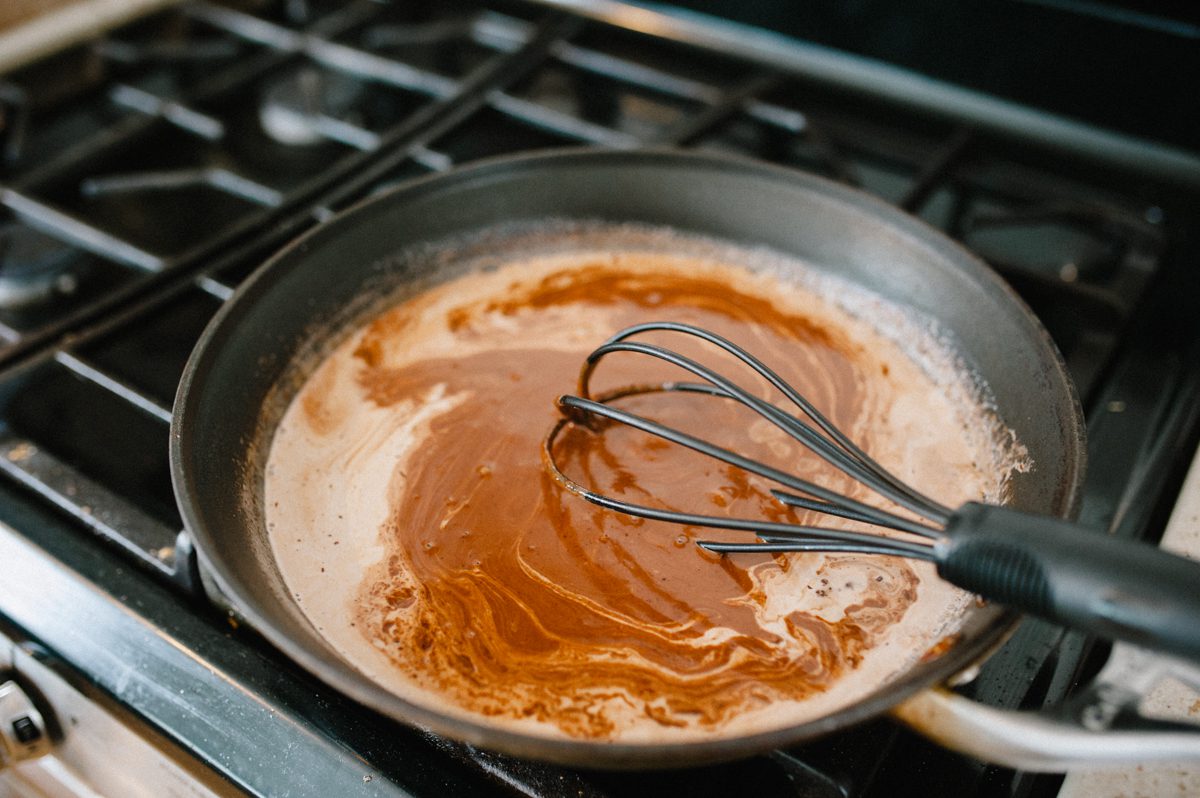
- On a large saucepan over medium heat, add the cream and cocoa powder. Whisk as it comes to a boil. Once it is boiling, turn off and slide pan off of heat. IMMEDIATELY add the chopped chocolate and butter. Whisk slowly until all is melted and smooth.
- Scrape the smooth chocolate mixture into a large bowl. Mix the vanilla and sea salt into it. Set into the ice bath but DO NOT let any of the water enter the chocolate mixture (it will make it look ugly). Constantly stir and scrape the sides with a rubber spatula, never letting any of the mixture sit still along the edges. If you stop stirring, it will begin to look ugly again. Once the mixture becomes room temperature, remove it from the ice bath (this can take anywhere from 3 – 10 minutes depending on your ice bath set up. You don’t want the chocolate to cool down quickly or it will become lumpy). Set the bowl aside.
- Mix egg whites in a large clean bowl. Whip with your quite gorgeous classic hand held mixer (ha!) on medium low speed till it looks foamy. Increase the speed to medium high and beat until the whites form very loose, soft peaks. Slowly add the sugar (so you don’t crush the fluff you just made). Continue beating on medium high until the whites are shiny and form floppy peaks (When reach the point you wonder if you got there, mix it another minute. For the first 6 of these I had been under beating it… not cool).
- Scoop 1/3rd of the whites into the cooled chocolate mixture and fold together gently. Scrape the remaining whites into the mixture and continue to fold until it is all mixed.
CAKE MAKING TIME!
- 1 cup bitter sweet chocolate chips
- Cut your upside down cake in three layers using either a fancy bread knife (if you have one) OR use a regular knife and score the edge then cut through the cake using a string (this is how I do it).
- Gently flip the top cake layer (that is really the bottom of the cake) upside down. Spread about 2 cups of the mousse onto that layer of the cake.
- Flip the next layer onto the mousse and press gently to level it. Spread another 2 cups of mousse onto that layer of the cake.
- Flip the final layer onto the cake upside down so the cut side is the top. Press gently to level it. Spread on the remaining mousse.
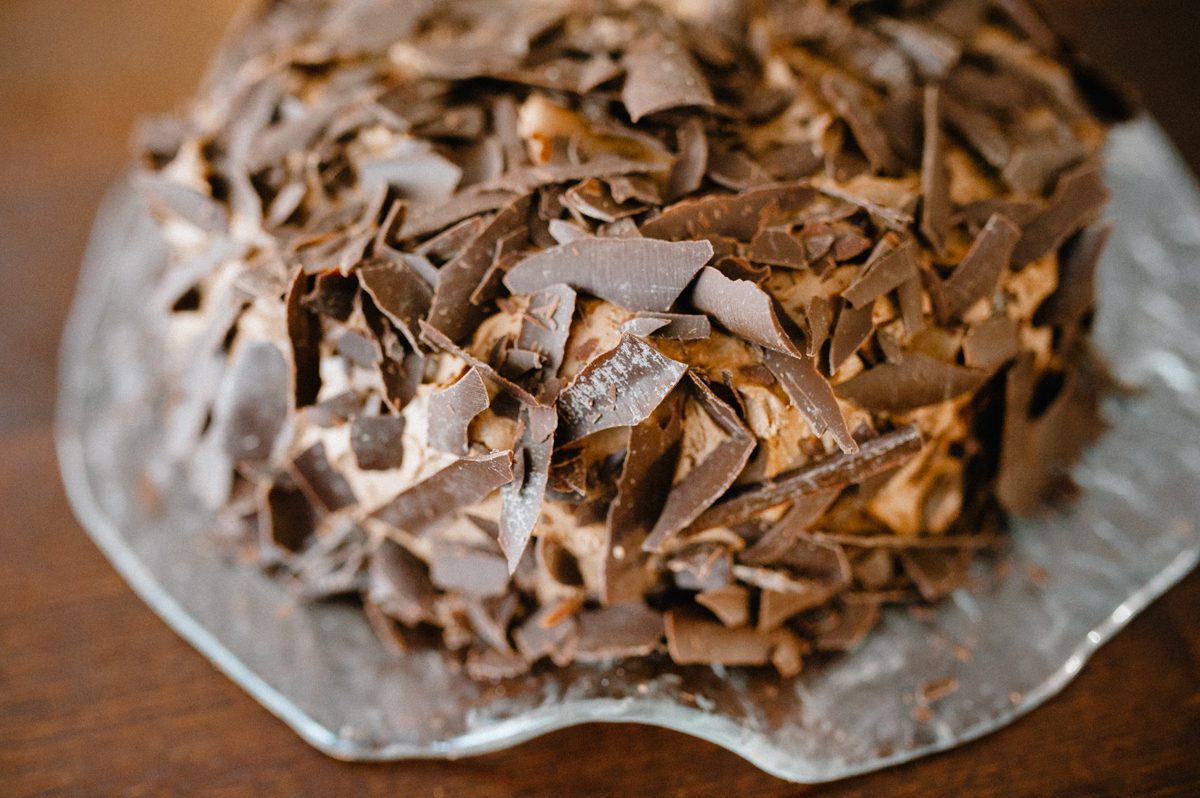
- There are several different ways to decorate the cake. I take the remaining mouse and brush it on to have some texture. I also take about a cup of chocolate, melt it, and place it between two pieces of parchment paper. I roll the chocolate into a thin sheet between the parchment papers and then roll the sheet up. Let that chocolate cool. Once it’s cooled completely, place in the fridge to get chilled. Once chilled, unroll the sheet and press down on it, making the chocolate crack. Take the cracked pieces and place them onto the top and sides of the cake.
Keep the cake refrigerated or it will get kinda gross (remember, it is uncooked eggs as the mousse). Eat + Enjoy!